| Home | Back |
 |
 |
|
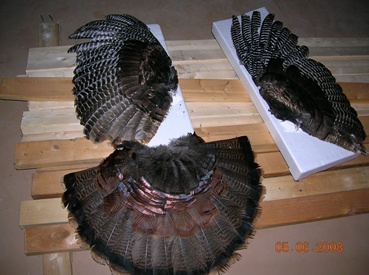
"Do It Yourself Mounting a Crow"
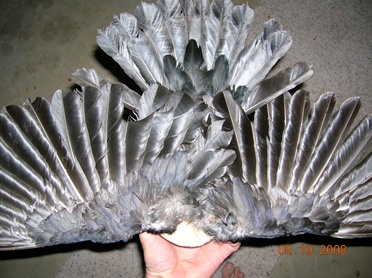
Step 1: Shoot a crow! (Sounds easy enough) Step 2: Preparing the wings/tail feather As close to the kill as possible, cut off the tail feather, wings, and head. To cut off the wings make sure you cut as close to the body as possible, this will give you the full wingspan effect in your final mount. After cutting these off, take as much excess meat off of the wings and tail feather as you can. To ensure that they will dry faster and not get infested with bugs, put Borax laundry cleaner (the powdered kind) over any exposed meat. At this time I also like to clean the feathers with warm soapy water. After cleaning and preparing the wings, pin the wings and tail feather onto cardboard or Styrofoam in the spread out position. After pinning them, let them sit for a couple weeks and eventually they will dry out and stay spread out for the final mount. During the couple weeks they are drying continue with the next steps.
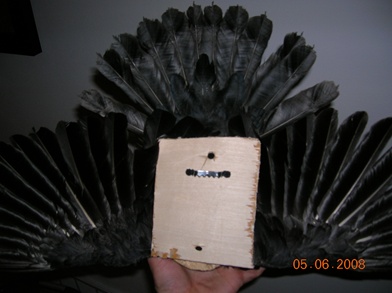
Step 3: Preparing/bleaching the skull As close to the kill as possible, cut off the head as close to the back of the skull as possible. Immediately after cutting it off skin the head and begin taking off any meat, eyeballs, etc. from the skull. Remember, in the end you want only bone to be part of this mount. After I take as much soft tissue off of the skull (you may have to get creative in taking out the brains), I boil the skull in water and Dawn dish soap (to degrease the bone) and pick any excess tissues off of it. You may have to keep boiling and picking. I also separate the bottom jaw with the rest of the head for ease of cleaning. Try not to boil the beak as you will want to keep this looking natural. After boiling and picking and the skull looks clean I move on to the bleaching process. I mix 30% hydrogen peroxide (3% sold on the stores might work but not as well) with Basic White Hair Powder made by Clairol. You can find this at any beauty supply store. Mix until it is of paste consistency, then paint over the skull. Again, steer clear of the beak as you want to keep this natural. When the paste dries you can simply rinse it off. You may want to do this a couple times to get the skull ultra-white. When finished bleaching I super glue the bottom jaw back on to the skull. Step 4: Preparing the wood The wood I use for this is just downed timber found at our hunting property. The slap of wood should be roughly 1" thick and 6-7" in diameter. To make it look nice I take a belt sander to one side before staining so it is flat and smooth. To give the mount the full effect I use a darker stain. On this particular mount I used a Dark Walnut stain with a semi-gloss finish. Along with the slab of natural wood you will also need a 5"x5" piece of 1/8" plywood with a metal hanger attached to it. This will be the backing to the entire mount. Step 5: Assembly The first step in assembly is attaching the wings and tail feather to the finished piece of wood. I use 3/4" drywall screws for this. I simply drill the screws through the bones and dried out muscle that is still in the wings.
The second step to assembly is attaching the backing to the mount. I use 1" drywall screws and just attach it so you cannot see it from the front. This should also have your hanging mechanism on it already.
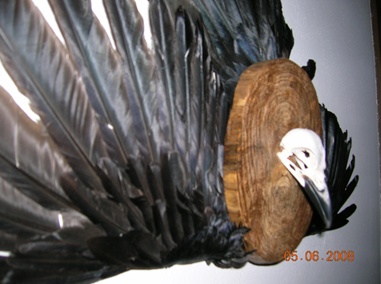
The last step in assembly is attaching the skull to the front of the mount. For this I just use super glue. You will find that crow skulls have a natural angle where you will attach it to the wood so it sticks out a bit.
Step 6: Enjoy your mount and be ready to get made fun of by your wife for having a crow mount! |
||
| TOP OF PAGE | BACK | ||
| Copyright (c) 1999. Crow Busters. All rights reserved. |